 WE ACCEPT:


Step-by-Step Installation Instructions

You may click on any picture to enlarge
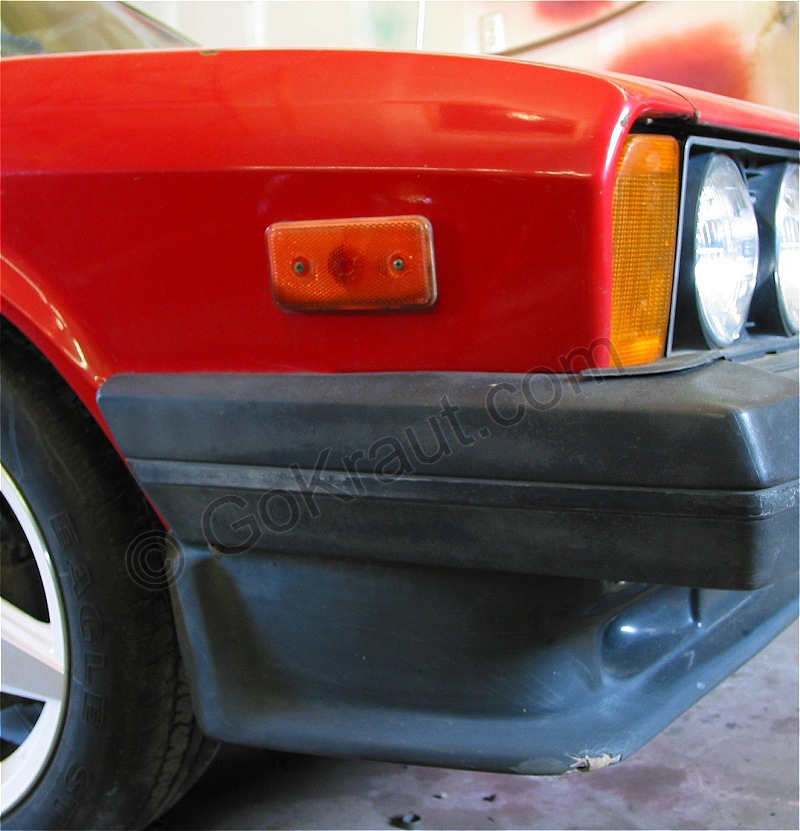
1.) Most A1 Chassis vehicles will have a plastic clip securing the sides of the bumper to the fender walls of the body. They are secured with 13mm plastic nuts. Be sure to carefully remove these as the whole clip assembly is constructed of plastic and in all likelihood very brittle.
2.) With the hood open, unbolt the four 17mm bolts (two on each side of the vehicle). They are each fastened to approximately 50-60ft/lbs so be careful when breaking them loose. Start with the rear-most bolts for easier bumper removal. Carefully slide the bumper out. US models have heavier bumpers due to DOT regulations so be mindful of this when removing the bumper.
Please take special note: The spacer brackets included with your kit are there because the MK1 Scirocco has protruding rails. Without a flush mounting surface, as you tighten the bumper bolts down, it effectively crushes the rails. GTIs and most other models do NOT have these protruding rails.
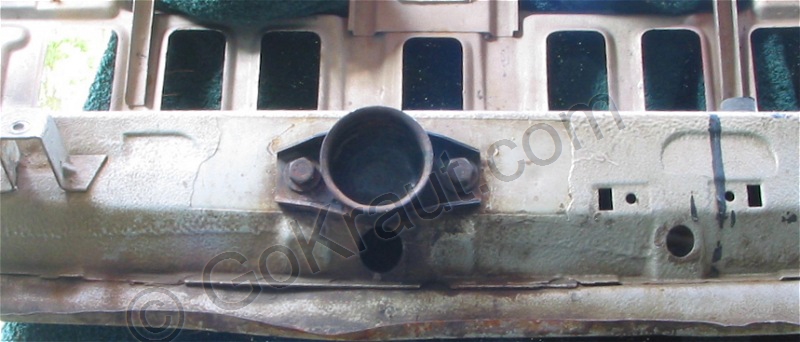
3.) The front cup is held in place by two 17mm bolts, each torqued to between 35ft/lbs and 45ft/lbs. You need to remove these bolts completely. Leave the cup hanging on the rubber mount for the duration of the installation. The cup does not need to be removed.

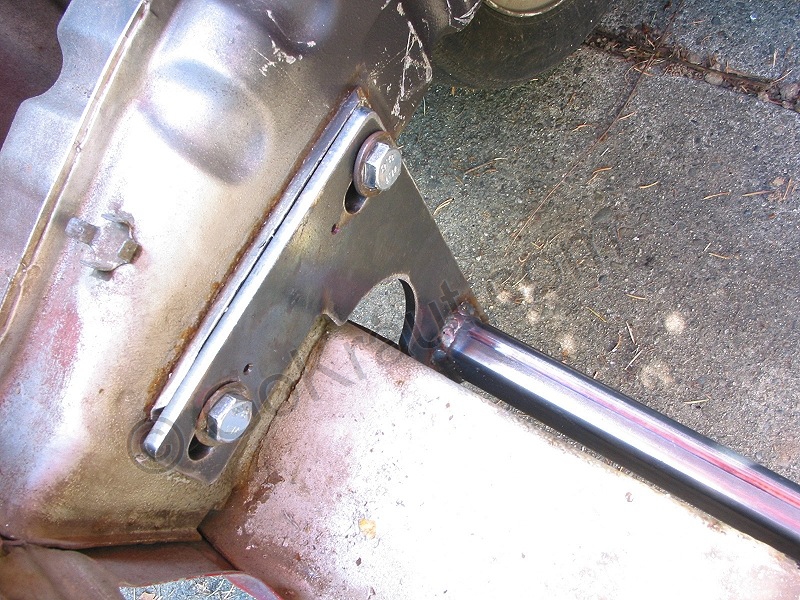
4.) Working from the underside of your car, slide the brace in-between the car's crossmember and the front mount cup (sandwich them). Thread the bolts you removed but DO NOT fully commit the brace position by torquing them down just yet.
Notice the crossmember brace has slotted holes where the front mount cup bolts down. This is for side to side positioning of the brace
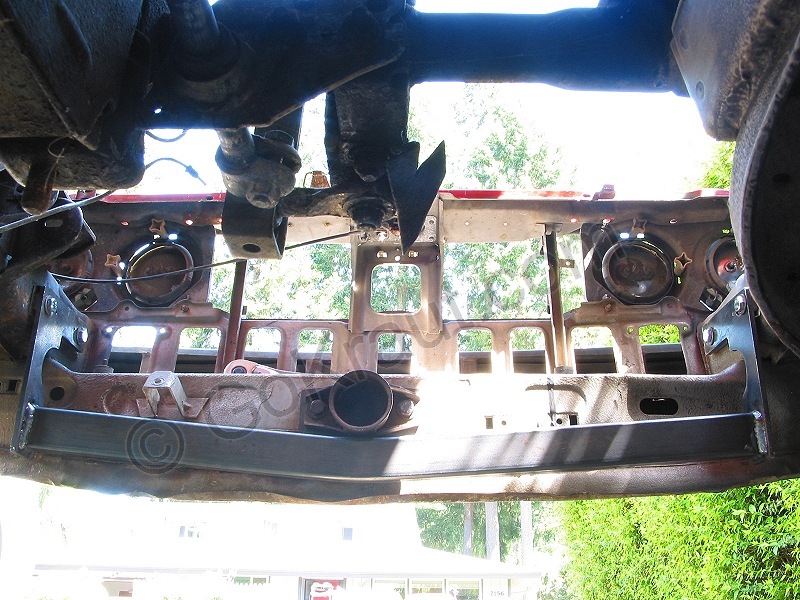
5.) Carefully slide the front bumper back into the car. This part can be tricky for some. You must orchestrate the bumper, spacer plate and crossmember brace into perfect alignment to be able to thread the bumper bolts. Once one side is done it is generally a great deal easier to do the other side. As before DO NOT fully commit the brace position by torquing the bolts down just yet. Once you are able to thread the other side in, find the brace's center by looking at the space between the bumper rails and the end plates of the brace. When you have found center, fully torque the front motor mount into position.
6.) Re-check the position one final time. Then begin torquing down one side of bumper bolts approximately 1/2 turn each on one side, and then repeat 1/2 turn per bolt on the other side. Go back and forth until all four bolts are fully seated. Don't forget to torque these to specification! Finally - reinstall your plastic bumper clips (if so equipped) You're DONE!